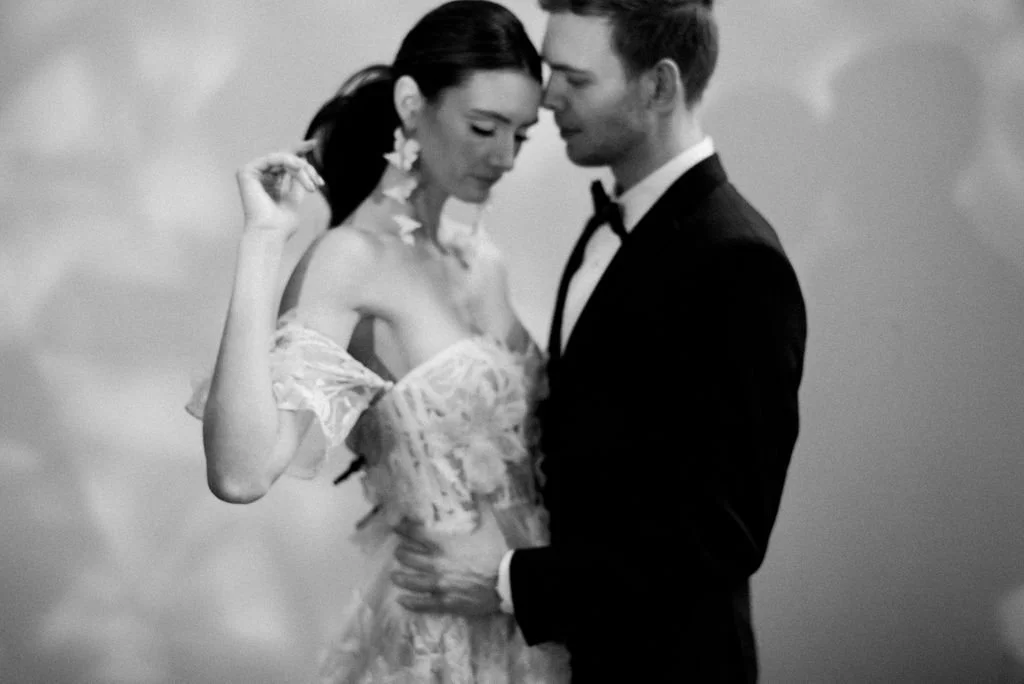
First Look
The first look is always great because you have full control of how you want to capture it. You can decide on the general location, where to place the groom, where to shoot from, etc. Be sure to communicate with the photographer(s) on how you both want to capture it. When I am shooting the first look, I like to place the groom in a well lit spot. I also like to pick a location where the bride has a long “runway” to reach the groom. This gives you a great opportunity to get THE shot where the groom is standing in front of you while the bride is in focus.
Tips: 1) Explain to both the bride and groom how the first look will work. I like to have the bride stop when she is a few steps away from the groom. This allows you and the photographer(s) to position yourselves accordingly for the shot. Indicate to the groom which way you want him to turn when the reveal happens. 2) Don’t forget to mic the groom with an audio recorder. The first look is always very emotional so the audio captured during this moment is always amazing.
Gear: Camera body, lens, audio recorder, external monitor
Ceremony
As a videographer, the ceremony is definitely the most difficult part of the day to capture. There are a lot factors that need to be considered and not to scare you but you only have one shot at capturing it. I always try to arrive thirty minutes before the start time. This gives me enough time to set up my tripods, scout the area, tap into soundboards (if there is a DJ), and most importantly, mic the groom and officiant. In terms of setups and captures, when shooting solo, I will typically have one camera on a tripod on the left or right side of the guests and another camera on a tripod at the back of the aisle (this camera is placed after the processional). Try to make sure this camera is not directly in the way of anyone walking by (especially for the recessional). Furthermore, I also carry a handheld camera with me. During the processional, I will be positioned at the front on the opposite side of the groom. This allows me to capture a reaction shot of the groom while the bride is about to walk down the aisle. Once the bride reaches the front, I will move out of the way and place my tripod cameras in position.
Tips: 1) Always continue to check the focus on the tripod cameras throughout the ceremony 2) Capture guest reactions throughout the ceremony. Especially if tears are being shed! 3) Position yourself at the back of the aisle in preparation for the first kiss.
Gear: Camera body, lens, audio recorder, external monitor, tripods
Photoshoot
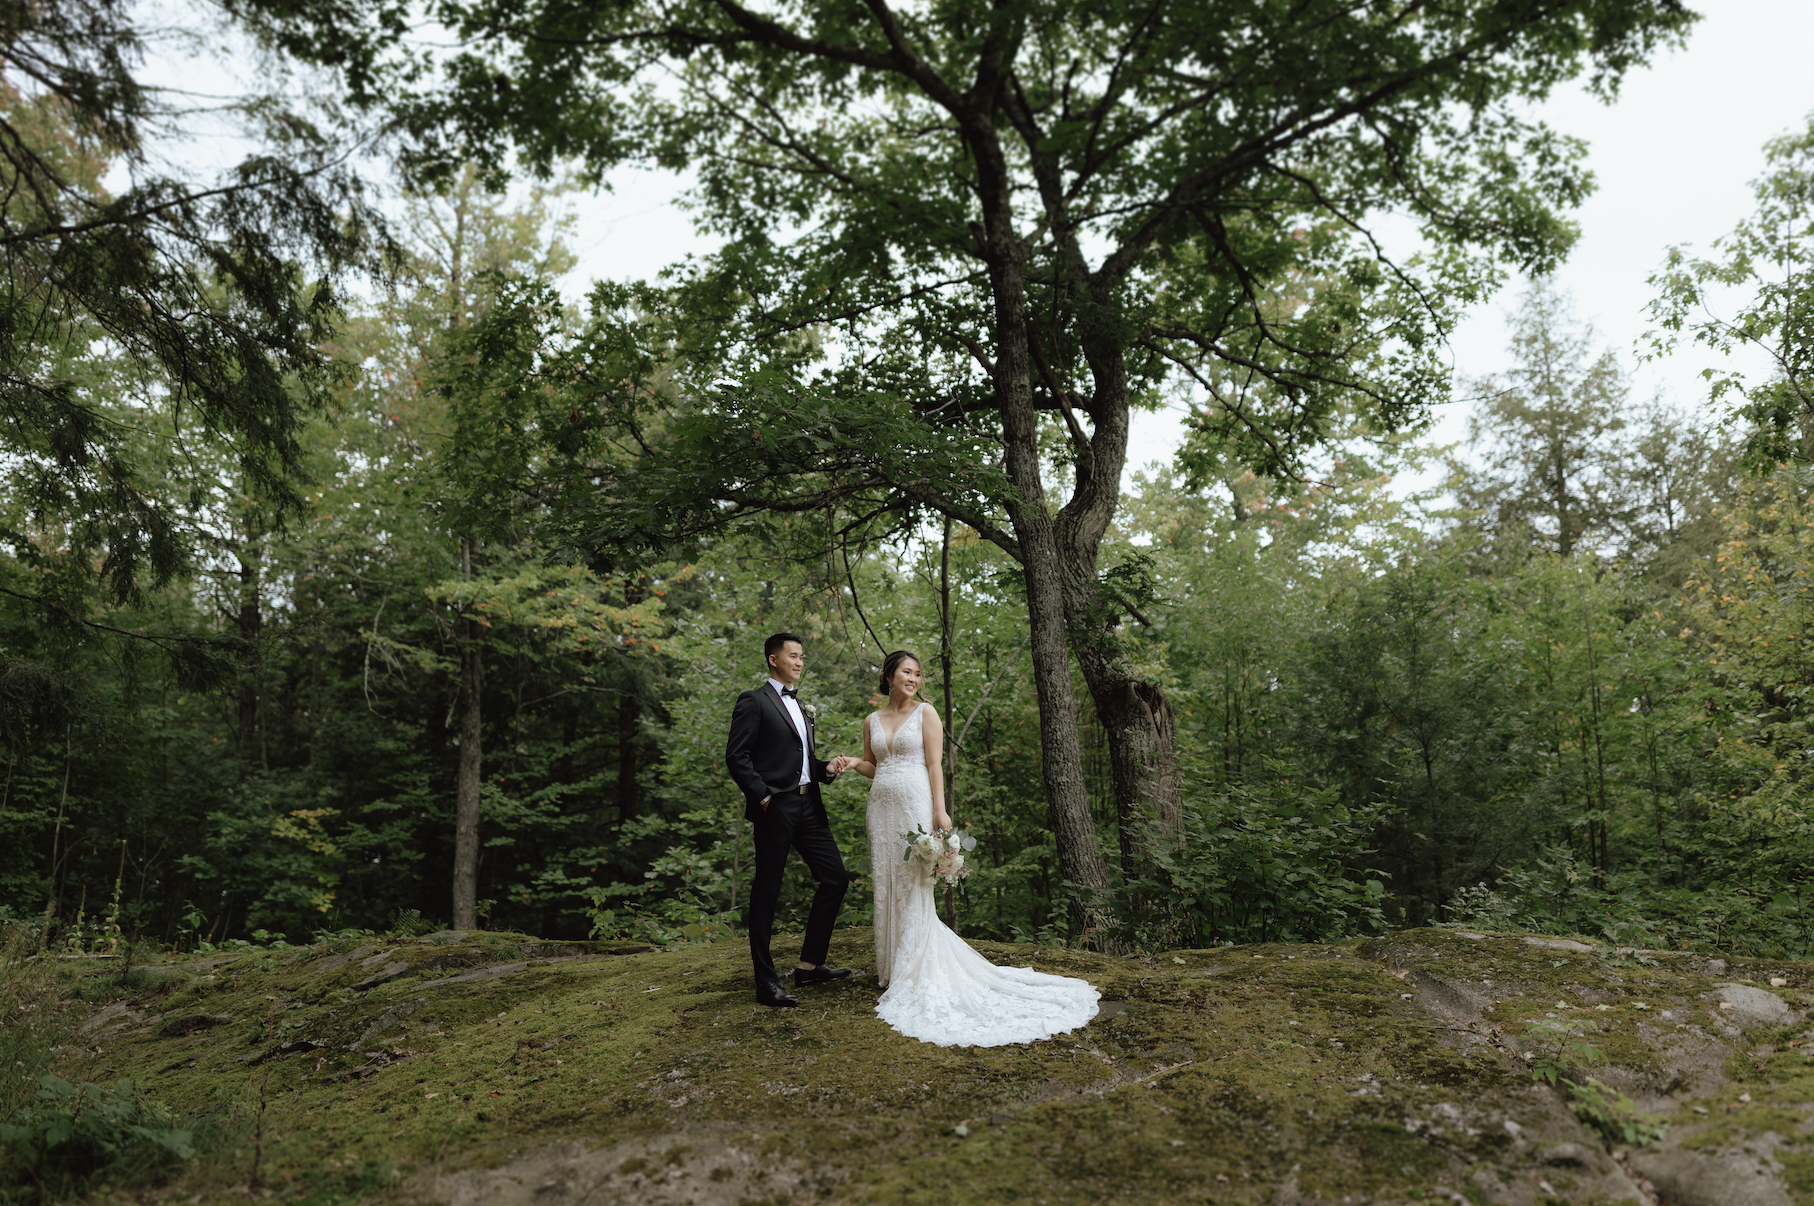
For the photoshoot, I like to keep things candid and natural. The photographer(s) will be guiding the session throughout so try to capture the moments from afar. I usually stage only a couple of shots—walking shots, holding hands, close up details.
Tips: 1) If you are walking with the bride and groom from one location to another, this is the perfect opportunity to get candid “walking shots” . Get close up shots of their shoes, holding hands, etc. 2) I only use my gimbal a few times throughout the day. I use it for establishing venue shots and reception decor as well as for the walking shots of the couple during the photoshoot.
Gear: Camera body, lens, external monitor, gimbal
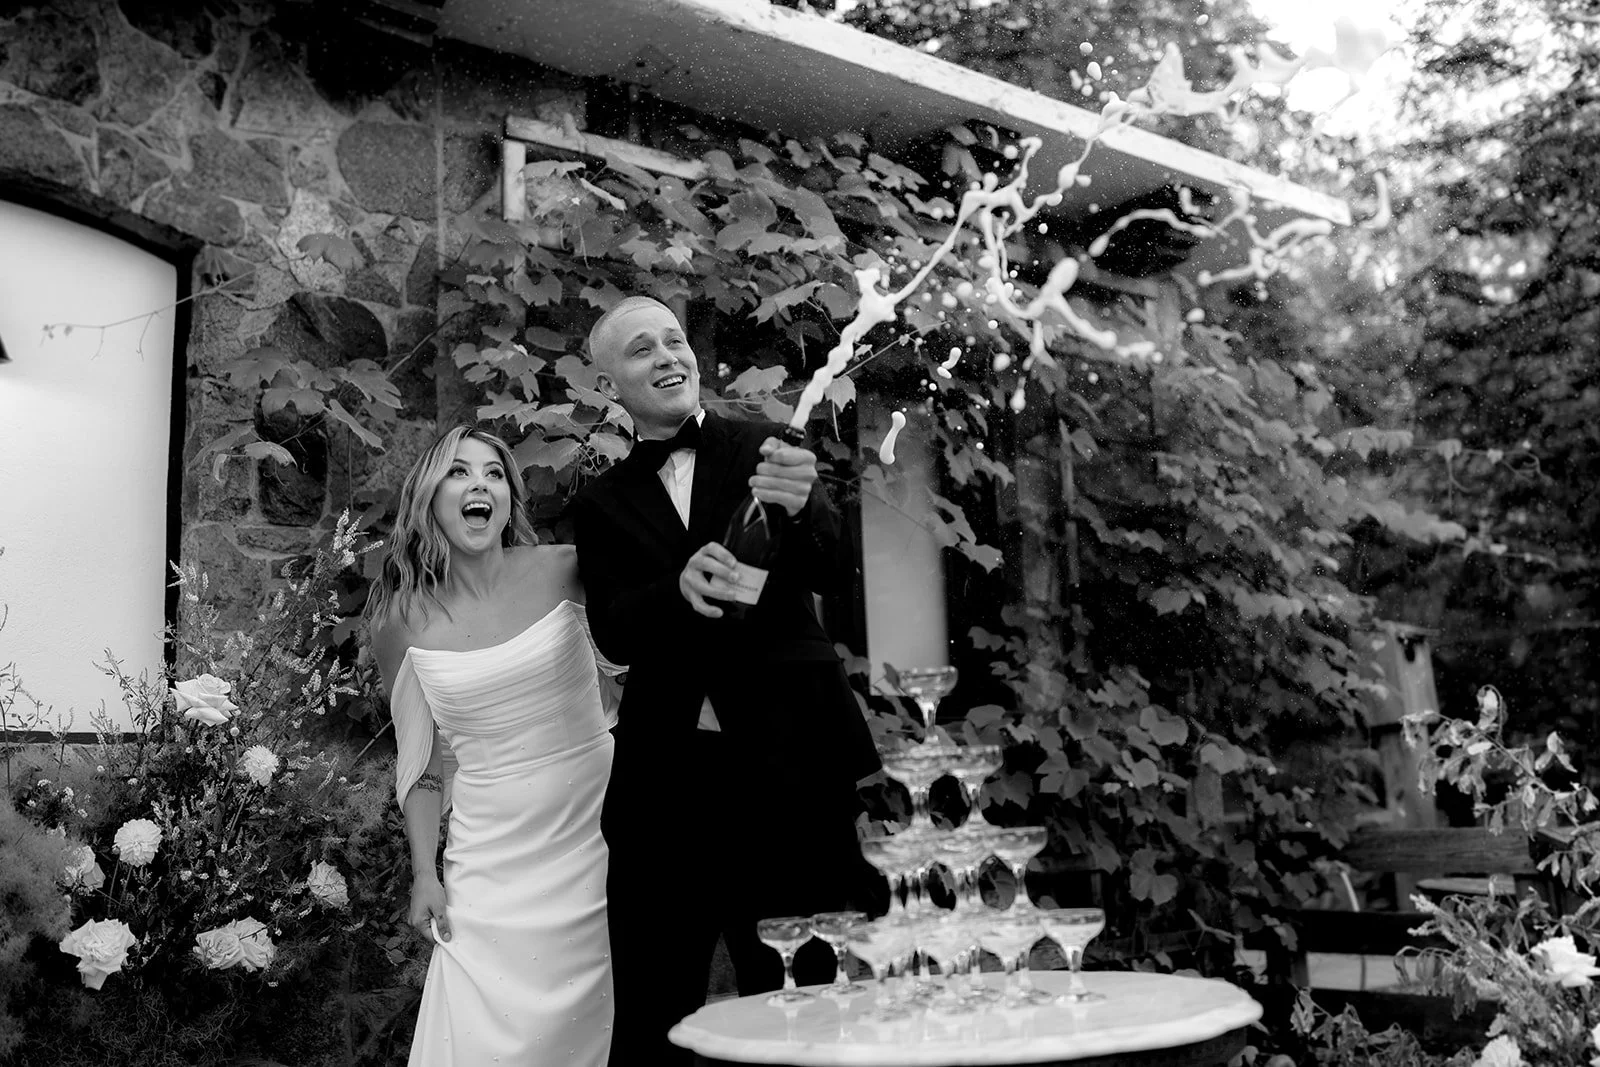
Reception
Capturing the reception is my favourite part of the night. For me, it is typically the easiest part of the day and also the most fun— you get to eat, chat with fellow vendors and guests, and capture exciting shots on the dance floor. The key to capturing the reception is setting up properly. The first thing I do is ensure my audio is in tact. You want to introduce yourself to the DJ (when he is not busy) and ask politely to tap into their soundboard to record the speeches. Once that is complete, set up lighting (even if you don’t think you’ll need it) and tripods. After everything is in place and set up, I then grab reception details shots. Budget thirty minutes for reception setup.
Tips: 1) Try to get a wide/full shot of the reception area with no guests/workers in it. If there is a wedding planner on site, they typically budget a few minutes for you to capture the room in full. 2) Store all your gear neatly in a corner or out of site.
Gear: Camera body, lens, audio recorder, external monitor, tripods, light stands, lighting, gimbal.